Removing screw elements from shafts
Vol. 38 #3, Fall 2013
Screw elements for twin screw extruders are segmented and assembled on shafts. Sometimes getting these elements off the shafts can be problematic.

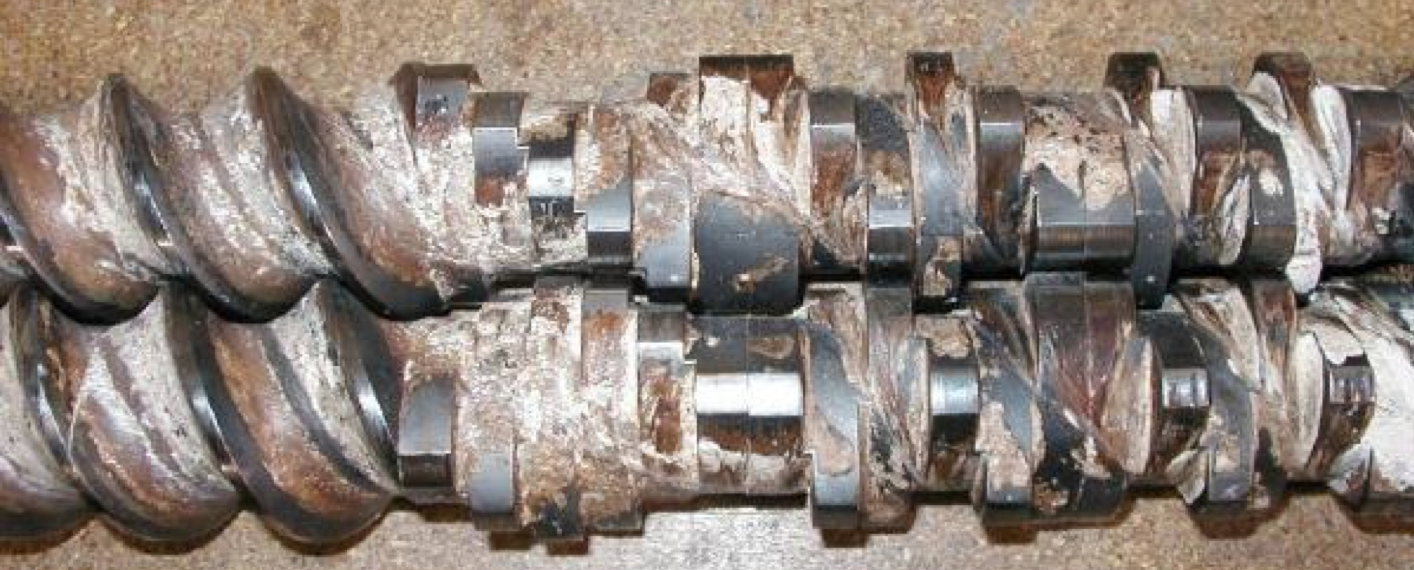
Figure 1: Screw set showing “baked on” degraded polymer
The typical method to removing screw elements is as follows:
- Remove the screws immediately after cleaning the outer surfaces after screw removal from the barrels
- If cool, put one or both screws back in the heated extruder barrel for 20 minutes or so to reheat the elements
- Separate the 2 screws and work on one at a time
- Support screws evenly, using at least 4 or 5 support points for longer screws, otherwise the elements may not slide along the shaft splines
- Use “hot” gloves!!!!
- Unscrew the tip and remove the last element, if it doesn’t slide off use a propane torch to heat the element (typically about 30 seconds for a lab-scale TSE and 4-5 minutes for a 100 mm class TSE)
- Apply heat as evenly as possible and remove each element by pulling it straight toward the shaft end....if it doesn't budge apply force with a brass drift punch and hammer
- Angle the brass punch against the screw flight and give it a few “hits” ....keep heating and hammering until the element moves
- As each element is removed, start brush-cleaning and/or scraping the exposed shaft, to make it easier to remove the rest of the elements.
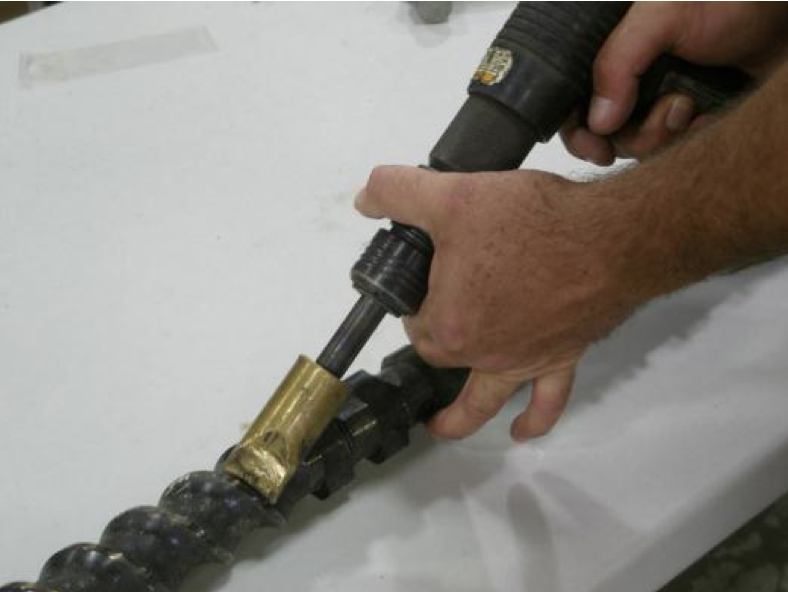
When screw elements are “stuck”, a pneumatic impact gun (air-hammer) is an inexpensive and helpful screw element removal tool. The impact gun must be modified to accept a brass tip to help avoid damage to the screw element/shaft. This gadget is noisy, but generally works to break loose “stuck” elements.

Figure 2: Air hammer with brass punch to facilitate screw removal
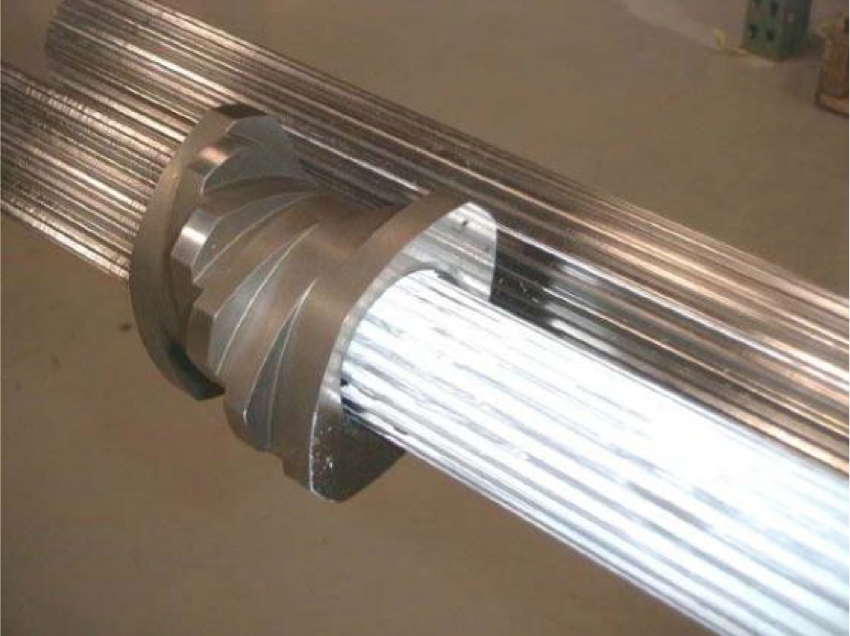
Preventative measures are encouraged for screw maintenance. If the screw set is left together for extended periods, it will be difficult to remove the elements. Experienced compounding firms will periodically remove the elements, clean the elements/shafts and apply anti-seize to the shafts on a periodic basis to prevent “stuck” screw elements.

Figure 3: Anti-seize on splined shafts
- Bert Elliott, Leistritz
Return to
Extrusion Hints